Here is the English translation of the Crochet Masterclass for the Bear by Lyudmila Babенко (@samomile.cloud) formatted for your WordPress blog:
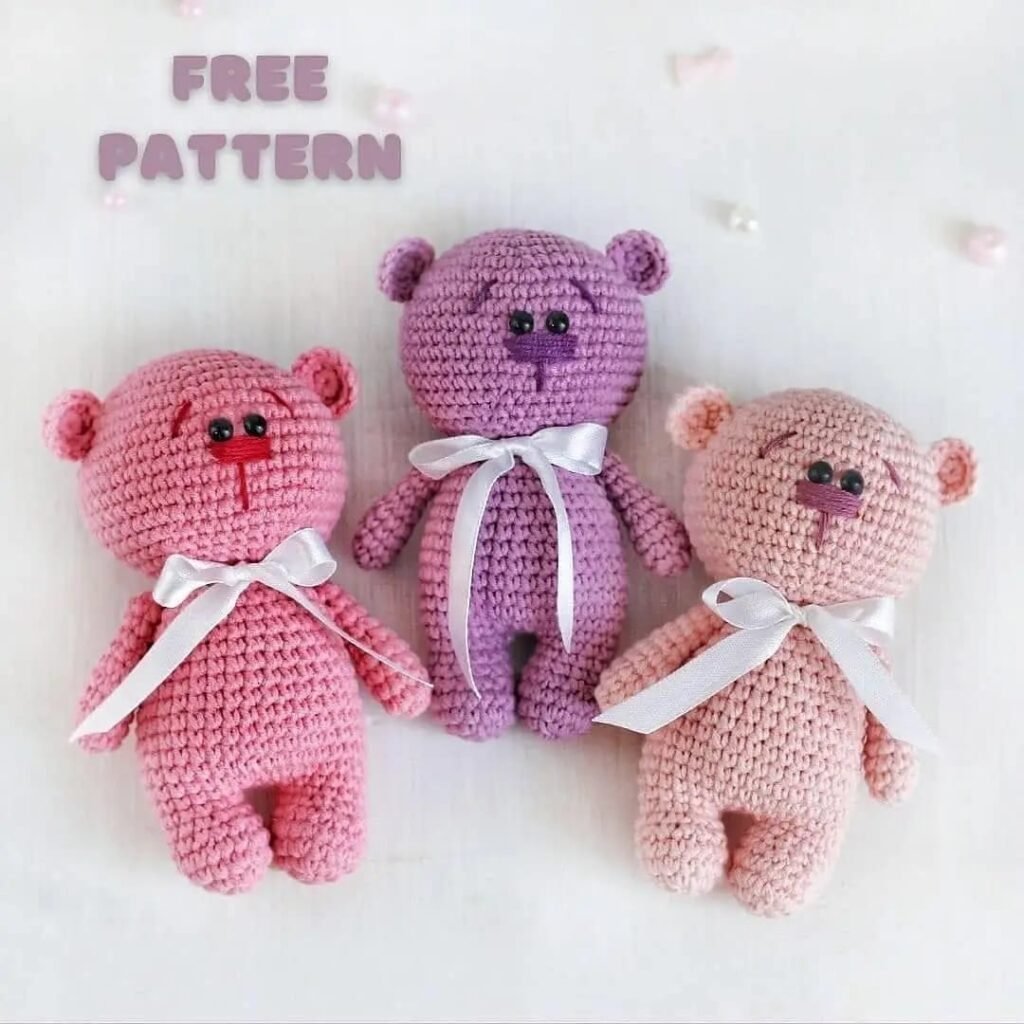
Free Crochet Masterclass: Little Bear by Lyudmila Babенко
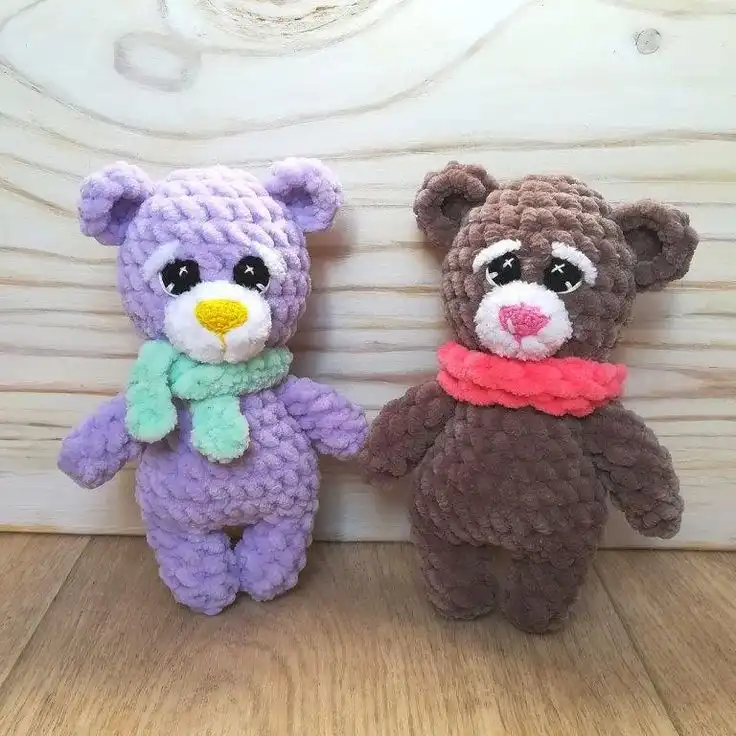
In this tutorial, you can crochet a small teddy bear using amigurumi techniques. The pattern works well with any semi-cotton yarn, such as YarnArt Jeans or Alize Cotton Gold. You can decorate the bear with a satin ribbon or crochet a scarf for a cute finishing touch.
The finished bear will be approximately 15-18 cm tall.
Materials and Tools:
- Yarn: YarnArt Jeans (or similar)
- Crochet hook: 2.0-2.5 mm
- Toy eyes: 5 mm
- Embroidery floss: For nose and eyebrows
- Stuffing for toys
- Needle for attaching parts
- Scissors
All materials can be purchased here.
Abbreviations:
- KA – Magic ring (amigurumi)
- ch – Chain stitch
- sc – Single crochet (US)
- inc – Increase
- dec – Decrease
- (…) x n – Repeat n times
Step-by-Step Instructions for Crocheting the Bear
1. Head
- Row 1: 6 sc in KA (6)
- Row 2: 6 inc (12)
- Row 3: (1 sc, inc) x 6 (18)
- Row 4: (2 sc, inc) x 6 (24)
- Row 5: (3 sc, inc) x 6 (30)
- Row 6: (4 sc, inc) x 6 (36)
- Row 7: (5 sc, inc) x 6 (42)
- Row 8: (6 sc, inc) x 6 (48)
- Rows 9-15: 48 sc (7 rows)
- Row 16: (6 sc, dec) x 6 (42)
- Row 17: (5 sc, dec) x 6 (36)
- Row 18: (4 sc, dec) x 6 (30)
- Row 19: (3 sc, dec) x 6 (24)
- Row 20: (2 sc, dec) x 6 (18)
Fasten off the yarn, leaving a tail for attachment. Attach the eyes between rows 10 and 11.

2. Ears (2 pieces)
- Row 1: 6 sc in KA (6)
- Row 2: 6 inc (12)
- Row 3: (1 sc, inc) x 5 (17)
Do not complete the last row. Fasten off the yarn.
3. Legs (2 pieces)
- Row 1: 6 sc in KA (6)
- Row 2: 6 inc (12)
- Row 3: (1 sc, inc) x 6 (18)
- Row 4: 18 sc
- Row 5: 8 sc, (1 sc, dec) x 3, 1 sc (15)
- Row 6: 11 sc, dec, 2 sc (14)
- Row 7: 14 sc
- For the right leg, crochet 7 sc, fasten off the yarn, and cut it. For the left leg, crochet 14 sc, and continue with this yarn.
4. Body
- Attach 3 ch to the left leg and join it to the right leg at the point where the yarn was fastened off. Crochet 7 sc, mark the start of the round.
- Row 1: 7 sc on the right leg, 3 sc from the ch, 14 sc on the left leg, 3 sc from the ch, 7 sc on the right leg (34)
- Row 2: 24 sc, inc, 1 sc, inc, 7 sc (36)
- Rows 3-4: 36 sc (2 rows)
- Row 5: dec, 16 sc, dec, 16 sc (34)
- Row 6: 34 sc
- Row 7: dec, 15 sc, dec, 15 sc (32)
- Row 8: 32 sc
- Row 9: dec, 14 sc, dec, 14 sc (30)
- Row 10: 30 sc
- Row 11: dec, 13 sc, dec, 13 sc (28)
- Row 12: 28 sc
- Row 13: dec, 12 sc, dec, 12 sc (26)
- Row 14: dec, 11 sc, dec, 11 sc (24)
- Row 15: (2 sc, dec) x 6 (18)
Fasten off the yarn.
5. Arms (2 pieces)
- Row 1: 6 sc in KA (6)
- Row 2: (1 sc, inc) x 3 (9)
- Rows 3-5: 9 sc (3 rows)
- Row 6: (1 sc, dec) x 3 (6)
- Rows 7-10: 6 sc (4 rows)
Gather the opening and leave a tail for attachment.