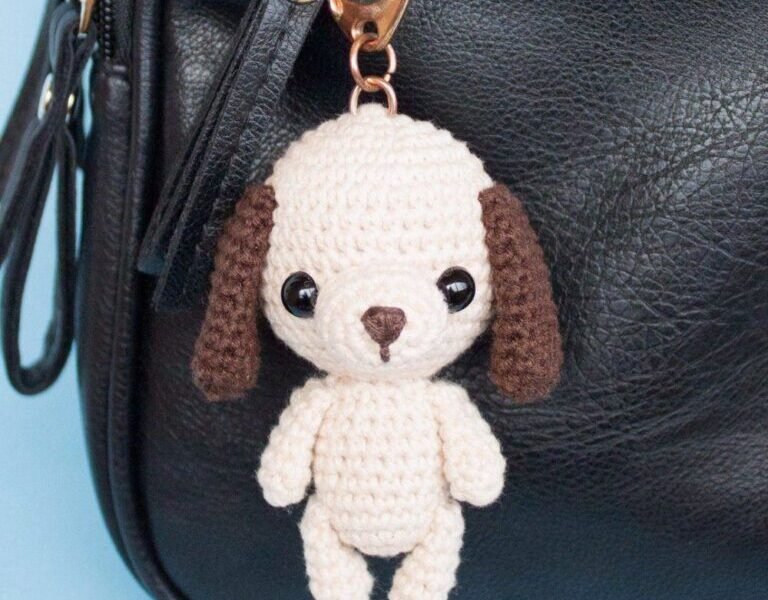
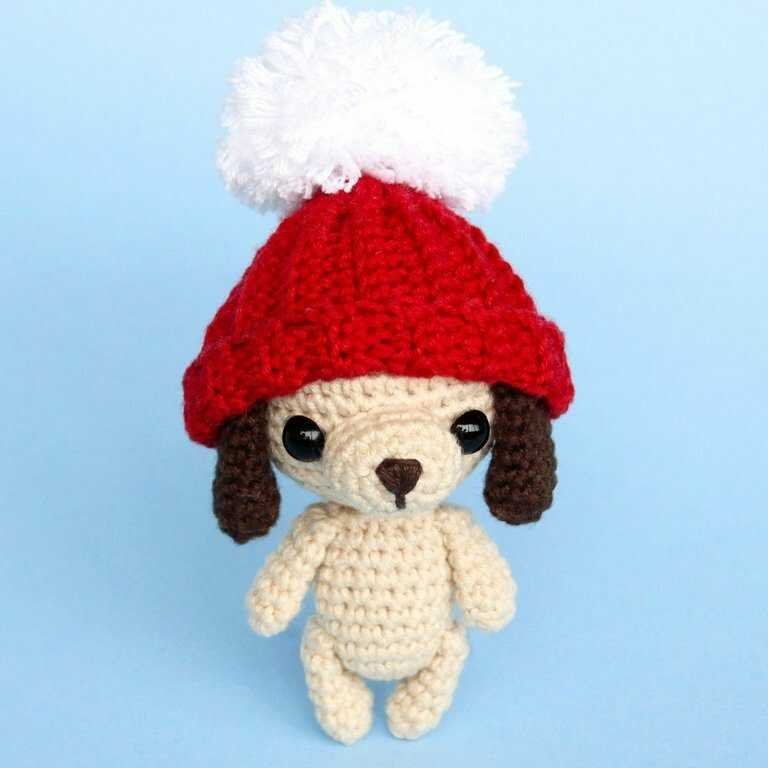
Keychain Dog Amigurumi Free Pattern
Hello, amigurumi lovers! I’m excited to share a fun and adorable Keychain Dog amigurumi pattern with you today. This little dog can be turned into a cute keychain, and it’s perfect for gifting or adding a unique touch to your personal accessories. Let’s get started!
Materials:
- Yarn: Gazzal Baby Cotton (60% cotton, 40% acrylic, 165m / 50g)
- Hook size: 2.2 mm
- Safety eyes: 8 mm
- Fiberfill for stuffing
- Sewing needle and scissors
- Keychain ring (optional for keychain)
- Embroidery floss for the nose and details
Abbreviations:
- (sc) = Single crochet
- (augm)/(inc) = Increase
- (dim)/(dec) = Decrease
- (mr) = Magic ring
- (FLO) = Front loops only
- (BLO) = Back loops only
- (sl-st) = Slip stitch
- (Fo) = Fasten off
Keychain Dog Amigurumi Pattern:
Head:
- R 1: 6 sc in MR (6)
- R 2: 6 augm (12)
- R 3: (augm, 1 sc) *6 (18)
- R 4: (augm, 2 sc) *6 (24)
- R 5: (augm, 3 sc) *6 (30)
- R 6: (augm, 4 sc) *6 (36)
- R 7-13: 36 sc (36)
- R 14: (dim, 4 sc) *6 (30)
- R 15: (dim, 3 sc) *6 (24)
- R 16: (dim, 2 sc) *6 (18)
- R 17: (dim, 1 sc) *6 (12)
- mc, f.o., cut the yarn.
Body:
- R 1: 6 sc in MR (6)
- R 2: 6 augm (12)
- R 3: (augm, 1 sc) *6 (18)
- R 4-10: 18 sc (18)
- R 11: (dim, 1 sc) *6 (12)
- mc, f.o., leaving a tail for sewing.
Assembly: Sew the head to the body.
Ears (make 2):
- R 1: 6 sc in MR (6)
- R 2: 6 augm (12)
- R 3-10: 12 sc (12)
- R 11: (dim, 4 sc) *2 (10)
- R 12: Bend the top of the ear flat and 4 sc on both sides (4)
- F.o., leaving a tail for sewing.
- Do not fill.
Muzzle:
- R 1: 6 sc in MR (6)
- R 2: (3 sc in one stitch, 2 sc) *2 (10)
- R 3: (3 augm, 2 sc) *2 (16)
- R 4-5: 16 sc (16)
- mc, f.o., leaving a tail for sewing.
- Fill gently.
Embroider the nose with black floss.
Legs (make 2):
- R 1: 6 sc in MR (6)
- R 2: (augm, 2 sc) *2 (8)
- R 3-6: 8 sc (8)
- mc, f.o., leaving a tail for sewing.
Hands (make 2):
- R 1: 7 sc in MR (7)
- R 2-6: 7 sc (7)
- mc, f.o., leaving a tail for sewing.
- Do not fill.
Tail:
- R 1: 6 sc in MR (6)
- R 2: (augm, 2 sc) *2 (8)
- R 3: 8 sc (8)
- mc, f.o., leaving a tail for sewing.
- Fill the tail.
Assembly:
- Head and Body: Sew the head securely to the body.
- Ears: Attach the ears to the top of the head.
- Muzzle: Sew the muzzle to the front of the head.
- Legs: Attach the legs to the bottom of the body.
- Hands: Sew the hands to the body.
- Tail: Attach the tail to the back of the body.
- Embroider Details:
- Add a nose with embroidery floss.
- Sew on the safety eyes between R 9 and R 10 of the head.
- Optionally, you can also add a little keychain ring to the top of the head to make it a keychain!
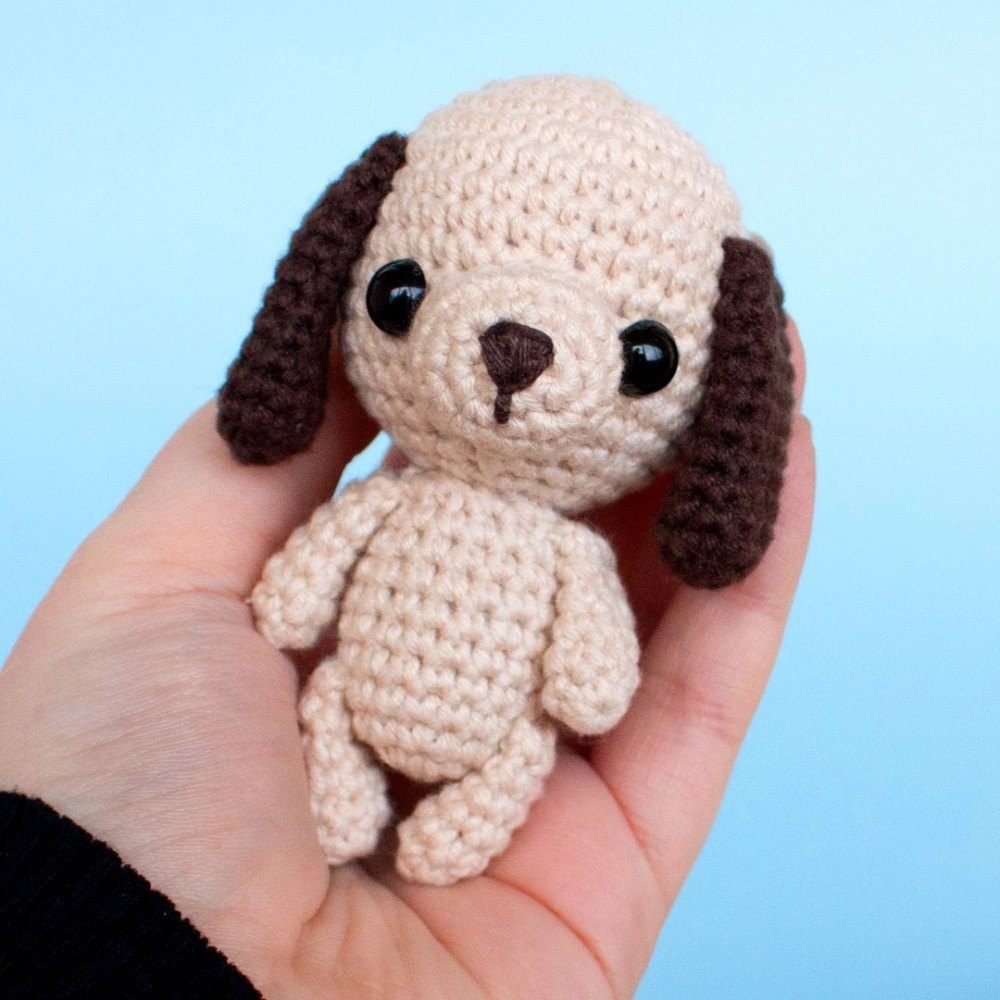
All Finished! 🎉
Your adorable keychain dog is now complete! Feel free to share your creation by tagging me (@freeamigurumii) on Instagram or Facebook—I’d love to see your work!
Enjoy crocheting your new keychain companion, and happy crafting! 🐶