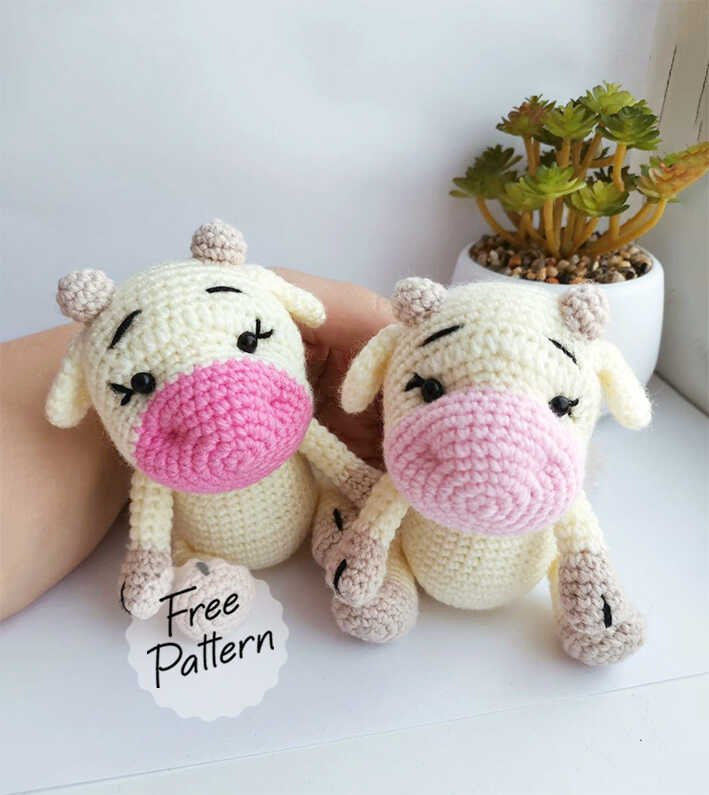
This free amigurumi pattern for a dog plush is detailed and includes all the necessary instructions to create a soft and adorable dog toy. Here’s a summarized breakdown of the pattern for you:
Materials and Tools:
- Himalaya Dolphin Baby Plush Yarn
- Vita Coco Yarn (for spout and embroidery)
- 4 mm crochet hook
- Toy eyes
- Toy filler
- 15 mm buttons (for attaching legs and hands)
- 2 discs (20mm and 18mm diameter)
- Cotter pins
- Round nose pliers (optional for swiveling head)
- Needle for sewing details
- Scissors
Conventions:
- KA: Magic ring
- sc: Single crochet
- inc: Increase
- dec: Decrease
- sl-st: Slip stitch
- vp: Chain stitch
- ub: Beauty stitch (embellishment)
Head:
- Row 1: 5 ch, from the second loop, 3 sc, in the last loop 3 sc, 2 sc, inc (10)
- Row 2: inc, 2 sc, 3 inc, 2 sc, 2 inc (16)
- Rows 3-5: 16 sc
- Row 6: 2 sc, 5 inc, 9 sc (21)
- Row 7: inc, 1 sc, inc, 2 sc, 3 inc, 2 sc, inc, 1 sc, inc, 8 sc (28)
- Continue until row 18, reducing stitches by the end, insert a cotter pin between rows 10 and 11, and stuff the head.
Body:
- Start with 6 sc in KA, increase and continue working in rounds until you get to row 19.
- Fill with stuffing and close the hole at the end.
Ears (2 parts each for wolf and puppy):
- Start by creating a magic ring and increase gradually, then finish by working in sc to create a raised, pointed ear.
Upper Legs (2 parts):
- Work in rounds, stuffing as you go. You’ll work in a similar fashion to the body, reducing and closing the hole at the end.
Lower Legs:
- Work similar to upper legs but adjust the stitch count for the different shape of the lower legs.
Tail:
- Start with a small ring and increase gradually. Stuff lightly and decrease at the end to finish.
Assembly:
- Attach the ears to the sides of the head.
- Use a button to fasten the paws securely.
- Sew the eyes and embroider any additional details like claws and eyebrows.
- Optionally, use dry pastels to tint the eyes, ears, and paws for more detail.