Amigurumi Little Llama Crochet Free PDF Pattern
Designer:
Instagram: @miracle_amitoys
Introduction
Hi there!
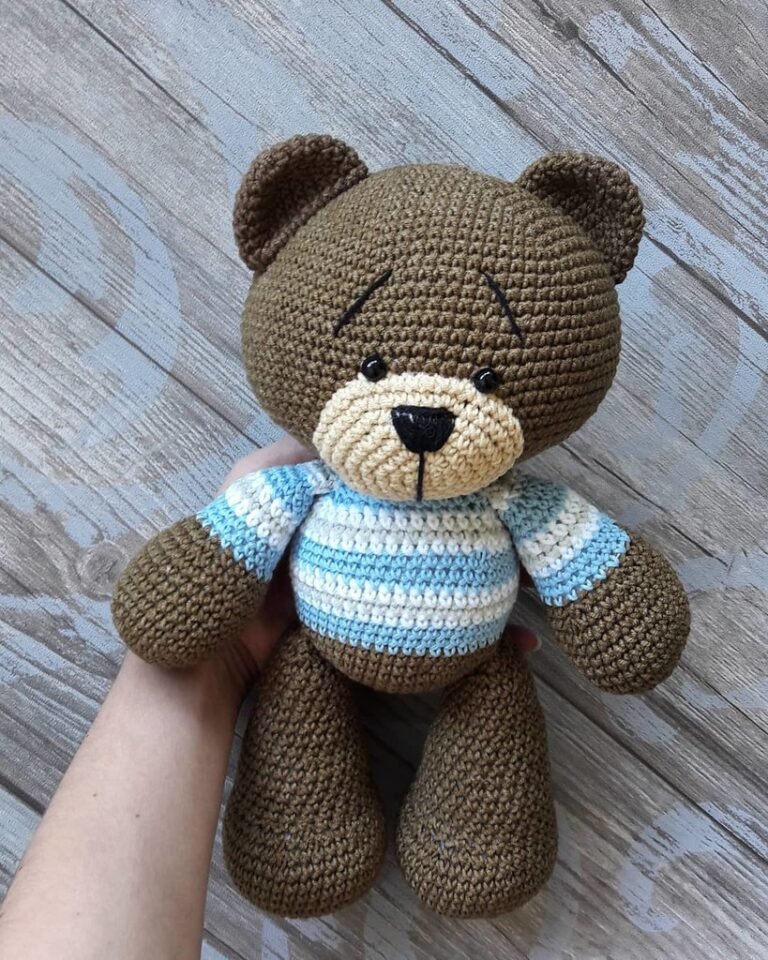
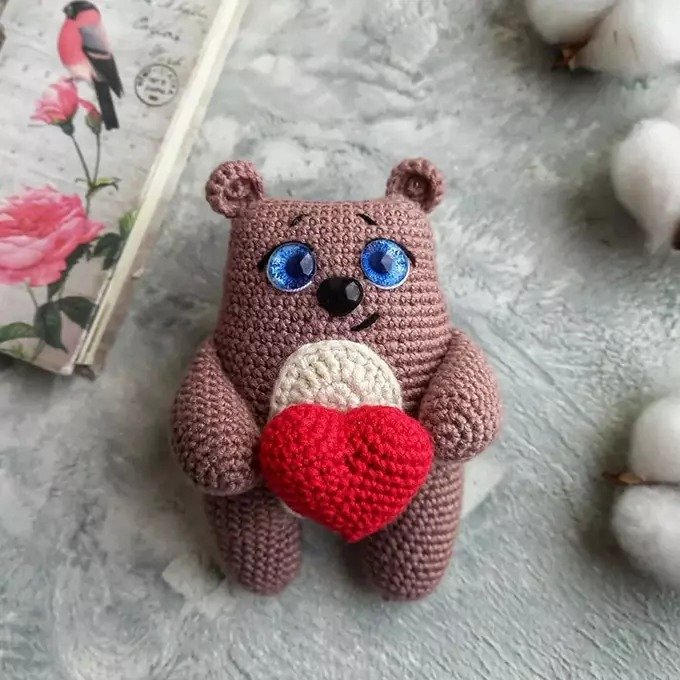
One of the free amigurumi crochet patterns we’re sharing today is the Amigurumi Llama, whose photos and design are by @miracle_amitoys. You can learn how to crochet this adorable llama using the free amigurumi pattern below. Big thanks to miracle_amitoys for this cute little llama design!
Materials
- Yarn: Semi-cotton yarn (e.g., Alize Cotton Gold) – 2 shades
- The main color for the llama’s body
- Color for the limbs and hairstyle accents
- Floss or sewing yarn (for nose and eyebrow embroidery)
- Eyes: 6mm bead eyes (2 pcs) — You can use eyes with caps. Just be sure to insert them BEFORE sewing the head to the body.
- Crochet Hook: 2mm
- Needle: For stitching parts
- Tailor’s Pins
- Filler (e.g., fiberfill)
Abbreviations
- R = row
- MR = magic ring
- ch = chain
- sc = single crochet
- dc = double crochet
- hdc = half double crochet
- sl st = slip stitch
- inc = increase (2 sc in one st)
- dec = decrease (2 sc together)
- BLO = back loop only
- FLO = front loop only
- F.o. = finish off
- ( … ) = repeat the instructions in brackets the given number of times
- [ … ] = number of stitches you should have at the end of the round/row
Amigurumi Llama Free Pattern
Head
- R1: 6 sc in MR (or in 2 ch)
- R2: 6 inc (12)
- R3: (1 sc, inc) *6 (18)
- R4: (2 sc, inc) *6 (24)
- R5: (3 sc, inc) *6 (30)
- R6: (4 sc, inc) *6 (36)
- R7: (5 sc, inc) *6 (42)
- R8-9: 42 sc (2 rows)
- R10: (6 sc, inc) *6 (48)
- R11: 48 sc
- R12: (7 sc, inc) *6 (54)
- R13-21: 54 sc (9 rows)
- R22: (7 sc, dec) *6 (48)
- R23: (6 sc, dec) *6 (42)
- R24: (5 sc, dec) *6 (36)
- R25: (4 sc, dec) *6 (30)
- R26: (3 sc, dec) *6 (24), slst, cut the yarn
Ears (Make 2)
- R1: 6 sc in MR or in 2 ch
- R2: (inc, sc) *3 (9)
- R3: 9 sc
- R4: (2 sc, inc) *3 (12)
- R5: 12 sc
- R6: (sc, inc) *6 (18)
- R7-9: 18 sc (3 rows)
- R10: (4 sc, dec) *3 (15)
- R11: (3 sc, dec) *3 (12), slst
Leave yarn for sewing.
Muzzle
- R1: 6 sc in MR or in 2 ch
- R2: 6 inc (12)
- R3: (sc, inc) *6 (18)
- R4: (2 sc, inc) *6 (24)
- R5-7: 24 sc (3 rows)
Leave yarn for sewing, cut off.
Arms (Make 2)
White yarn
- R1: 6 sc in MR (or in 2 ch)
- R2: 6 inc (12)
- R3: (1 sc, inc) *6 (18)
- R4-6: 18 sc (3 rows)
- R7: 6 sc, 3 dec, 6 sc (15)
- R8: 5 sc, 3 dec, 4 sc (12) — Color change
- R9-21: 12 sc (13 rows)
- R22: 12 sc + 1 sc (to end the knitting at the side)
Fill with filler up to row 19, fold in half, and knit together for both walls.
Legs (Make 2)
White yarn
- R1: 6 sc in MR (or in 2 ch)
- R2: 6 inc (12)
- R3: (1 sc, inc) *6 (18)
- R4: (2 sc, inc) *6 (24)
- R5-7: 24 sc (3 rows)
- R8: (4 sc, dec) *4 (20)
- R9: (3 sc, dec) *4 (16)
Turn the knitting in the opposite direction (no ch at the beginning of the row).
- R10: 10 sc, expand
- R11: 8 sc, expand
- R12: 6 sc, expand
- R13: 4 sc (stop at the working side), now knit 4 sc legs on the left side, 4 sc legs on the front wall, and 4 sc legs on the right side.
Mark with a pin so you don’t get lost. You should have 16 sc. - R14: 16 sc, color change at this stage, fill the leg well, forming a heel
- R15-28: 16 sc (14 rows), fill up to row 26. Fold in half, with the toe facing forward, and knit 7 sc together on both sides.
Body
- R1: 6 sc in MR (or in 2 ch)
- R2: 6 inc (12)
- R3: (1 sc, inc) *6 (18)
- R4: (2 sc, inc) *6 (24)
- R5: (3 sc, inc) *6 (30)
- R6: (4 sc, inc) *6 (36)
- R7: (5 sc, inc) *6 (42)
- R8: (6 sc, inc) *6 (48)
- R9: 9 sc, 7 sc knit leg, 17 sc, 7 sc knit leg, 8 sc
- R10: (7 sc, inc) *6 (54)
- R11-12: 54 sc (2 rows)
- R13: (7 sc, dec) *6 (48 sc)
- R14: 48 sc
- R15: (6 sc, dec) *6 (42)
- R16: 42 sc
- R17: (5 sc, dec) *6 (36)
- R18-19: 36 sc (2 rows)
- R20: (4 sc, dec) *6 (30)
- R21-23: 30 sc (3 rows)
- R24: (3 sc, dec) *6 (24)
- R25-30: 24 sc (6 rows), slst
Leave a long yarn for sewing on the head.
Assembly
- Head: Fill the head with holofiber.
- Sew the head to the body: Ensure there are 24 sc left in both the head and the body. Sew carefully, using a loop-to-loop technique.
- Muzzle: Mark with pins where you will sew the muzzle. Don’t forget to fill with holofiber.
- Ears: Pin the ears symmetrically with pins and sew them on.
- Arms: Sew the arms between rows 24 and 25 (where the neck begins).
- Eyes: Mark with pins the spots for sewing the eyes. Use yarn in the same color as the head to draw small tacks at the marked locations, then sew the eyes on. Make sure to avoid overtightening!
- Nose & Eyebrows: Use black or brown floss or sewing yarn to embroider the nose and eyebrows.
Hairstyle
- Chain 10 ch.
- Sl st into the first chain.
- Chain 10 more ch.
- Sl st into the first chain (continue with the current chain).
- Repeat this process to create the number of curls you need for the hairstyle (typically 12 curls).
- Sew the curls symmetrically between the ears.