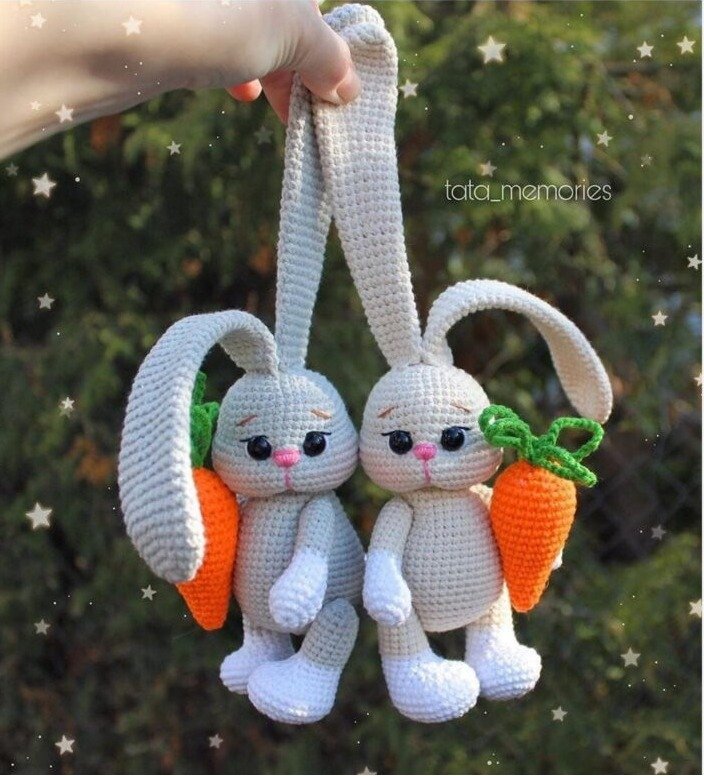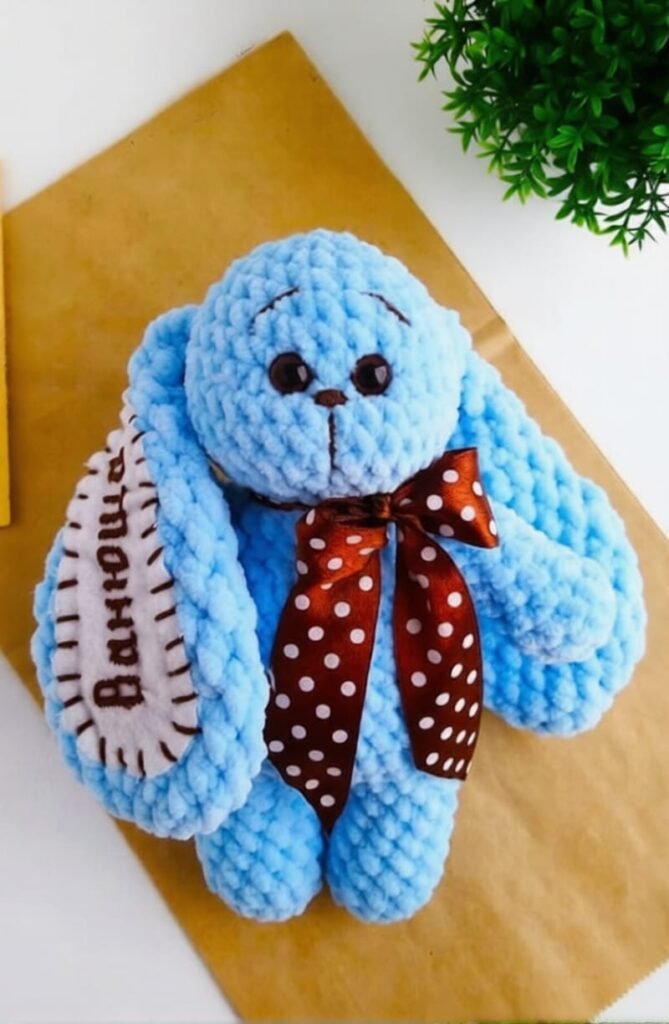
Bunny Button Amigurumi Free Pattern
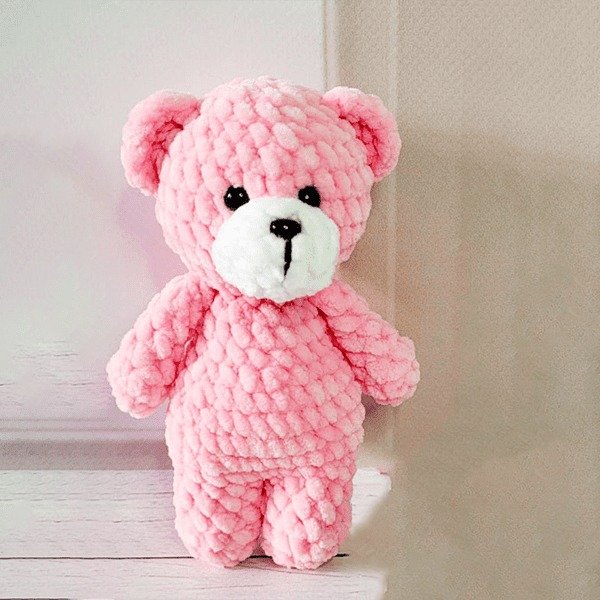
Today, I’m excited to share another adorable bunny amigurumi pattern! This Bunny Button is soft, plush, and has the cutest ears. I’m sure you’ll love making this one!
Designer: @by_oksana_chizh
Finished Size: 18-19 cm from head to toe (depending on yarn and hook size)
Materials
- Dolphin Baby yarn (1 skein) and fine yarn for eyebrows and nose (YarnArt Jeans or floss)
- Filler (Holofiber)
- Hook size 4 mm
- 10 mm safety eyes
- Thread for sewing and tightening
- Plush needle, scissors, glue (optional)
- Ribbon for decoration
Abbreviations
- AR – Amigurumi Magic ring
- MR – Amigurumi Magic ring
- sc – Single Crochet
- inc – Increase
- dec – Decrease
- st – Stitch
- sl-st – Slip Stitch
- ch – Chain
- FLO – Front Loop Only
- BLO – Back Loop Only
- BL – Bobble Stitch
Hands (Make 2)
- 1. MR (6)
- 2. 6 inc (12)
- 3. 12 sc
- 4. 3 sc, 3 dec, 3 sc (9)
- 5-10. 9 sc (6 rows)
- 11. Fold in half and tie 4 sc through both sides (4)
- Hide the thread tip.
Legs (Make 2)
- 1. MR (6)
- 2. 6 inc (12)
- 3-8. 12 sc, slst (6 rows)
- For the second leg, continue with 6 sc, then knit directly into the body.
Body
- 9. 1 ch, sc under the slst of the first leg, 11 sc, sc under the slst of the second leg (27)
- 10. 11 sc, 3 inc, 13 sc (30)
- 11. 29 sc, inc (31)
- 12. 29 sc, (4 hdc in one stitch) *2 (37)
- 13. 29 sc, (4 hdc with one top) *2 (31)
- 14. 29 sc, dec (30)
- 15-16. 30 sc (2 rows)
- 17. (3 sc, dec) *6 (24)
- 18-19. 24 sc (2 rows)
- 20. (2 sc, dec) *6 (18)
- Continue with the arms as shown in the provided video link.
- 21. 4 sc, 4 sc (with hand), 5 sc, 4 sc (with hand), sc (18)
- 20-21. 18 sc (2 rows)
- 22. (sc, dec) *6 (12), slst.
- Leave a long thread for sewing. Fill with holofiber as you go.
Ears (Make 2)
- 1. 6 sc in MR (6)
- 2. 6 inc from hdc (12)
- 3. (3 hdc, inc) *3 (15)
- 4. (4 hdc, inc) *3 (18)
- 5-8. 18 hdc (4 rows)
- 9. (4 hdc, dec) *3 (15)
- 10-11. 15 hdc (2 rows)
- 12. (3 hdc, dec) *3 (12)
- 13. 12 hdc
- 14. (hdc, dec) *4 (8)
- 15-17. 8 hdc (3 rows)
- 18. Fold the ear in half and work 4 sc across both sides.
- Fasten off the thread.
Head
- 1. 6 sc in MR (6)
- 2. 6 inc (12)
- 3. (sc, inc) *6 (18)
- 4. (3 sc, inc) *4, 2 sc (22)
- 5. sc, (inc, 3 sc) *5, inc (28)
- 6. 28 sc
- 7. sc, 4 sc (with an ear), 3 sc, 4 sc (with an ear), (2 sc, inc) *2, 4 sc, (inc, 2 sc) *2 (32)
- 8. 32 sc
- 9. dec, 10 sc, dec, 18 sc (30)
- 10. 30 sc
- 11. (3 sc, dec) *6 (24)
- 12. (2 sc, dec) *6 (18)
- Insert the eyes between rows 6 and 7 (marked with pins).
- 13. (sc, dec) *6 (12)
- Fill tightly with holofiber for chubby cheeks.
- 14. 6 dec, pull the hole tight, hide the thread.
Assembly and Finishing
Use a needle to bring thread from point 1 to point 2, and repeat the tightening method. Do the same for the other side for symmetry. Sew the head to the body, adding extra filler as needed to make the upper part firm. Secure the threads and cut off any excess.
Now your Bunny Button is ready! You can decorate it with a bow, a cute sweater, or anything else you like!
Share your creations using the hashtag #knit_s_oxanoi_chizh.