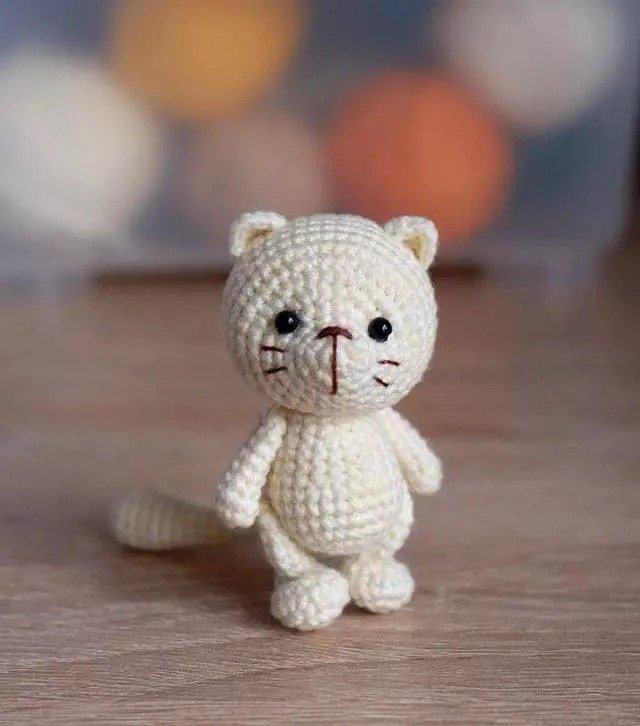
Free Crochet Tutorial: Little Kitten by Ksenia (@brooch_cott)
Follow this step-by-step guide to crochet a cute little kitten using amigurumi techniques. You can use any cotton yarn, such as YarnArt Jeans, Alize Cotton Gold Fine, or YarnArt Cotton Soft, dividing the thread into two parts.
Materials Needed:
- Yarn (25g / 160 m per skein)
- Suitable crochet hook (I used 1.25 mm)
- Eyes or beads for the toy
- Embroidery thread for the nose
- Toy stuffing
- Needle
- Scissors
All necessary materials can be purchased here.
Crochet Abbreviations:
- KA – Magic ring
- ch – Chain stitch
- sc – Single crochet
- inc – Increase (2 sc in one stitch)
- dec – Decrease (sc 2 together)
- (…) x n – Repeat the instructions in parentheses n times
Head
Start crocheting from the snout.
- 6 sc in KA
- 6 inc (12)
- 12 sc
- (sc, inc) x 6 (18)
- 3 sc, (sc, inc) x 6, 3 sc (24)
- 4 sc, inc, (2 sc, inc) x 6, 4 sc (30)
- 3 sc, (3 sc, inc) x 6, 3 sc (36)
- 5 sc, inc, (4 sc, inc) x 5, 5 sc (42)
9-14. 42 sc - (5 sc, dec) x 6 (36)
- 36 sc
- (4 sc, dec) x 6 (30)
- (3 sc, dec) x 6 (24)
- (2 sc, dec) x 6 (18)
- (sc, dec) x 6 (12)
- 6 dec
Cut the yarn, pull the opening tight, and hide the end.
Ears (Make 2)
Crochet a chain of 2 ch.
- In the second ch from the hook, crochet 5 sc. Ch 1 and turn.
- 2 sc, 3 sc in one stitch, 2 sc
Cut the yarn, leaving a long tail for sewing.
Head Detailing
Proceed to detail the head (secure all loose ends at the bottom of the head, where the body will be attached).
- Make any necessary shaping by pulling the stitches tightly and secure them.
- Sew the eyes in place between rows 5 and 6 (about 7 sc apart).
- Embroider the nose.
- Attach the ears, approximately between rows 11 and 12.
Body
- 6 sc in KA
- 6 inc (12)
- (sc, inc) x 6 (18)
- (2 sc, inc) x 6 (24)
- (3 sc, inc) x 6 (30)
6-8. 30 sc - 4 sc, (dec, 2 sc) x 5, dec, 4 sc (24)
10-11. 24 sc - (2 sc, dec) x 6 (18)
13-14. 18 sc - (sc, dec) x 6 (12)
- 6 dec
Cut the yarn and pull the opening tight using a needle. Hide the yarn end.
Legs (Make 2)
- 6 sc in KA
- 6 inc (12)
- (sc, inc) x 6 (18)
- 18 sc (18)
- 3 sc, 6 dec, 3 sc (12)
- 3 sc, 3 dec, 3 sc (9)
- 9 sc
- (2 sc, inc) x 3 (12)
9-11. 12 sc - 6 dec
Cut the yarn and pull the opening tight using a needle. Hide the yarn end.
Arms (Make 2)
- 6 sc in KA (6)
- 6 inc (12)
- (2 sc, dec) x 3 (9)
4-8. 9 sc (9) - (sc, dec) x 3 (6)
Cut the yarn and pull the opening tight using a needle. Hide the yarn end.
Tail
- 6 sc in KA
- 6 inc (12)
3-6. 12 sc - (2 sc, dec) x 3 (9)
8-11. 9 sc - (sc, dec) x 3 (6)
13-21. 6 sc (6)
Cut the yarn, leaving a long tail for sewing.
Assembling the Toy
- Attach the body to the head using thread.
- Sew the legs and arms to the body using thread.
- Attach the tail to the body. For all these attachments, use a strong thread.
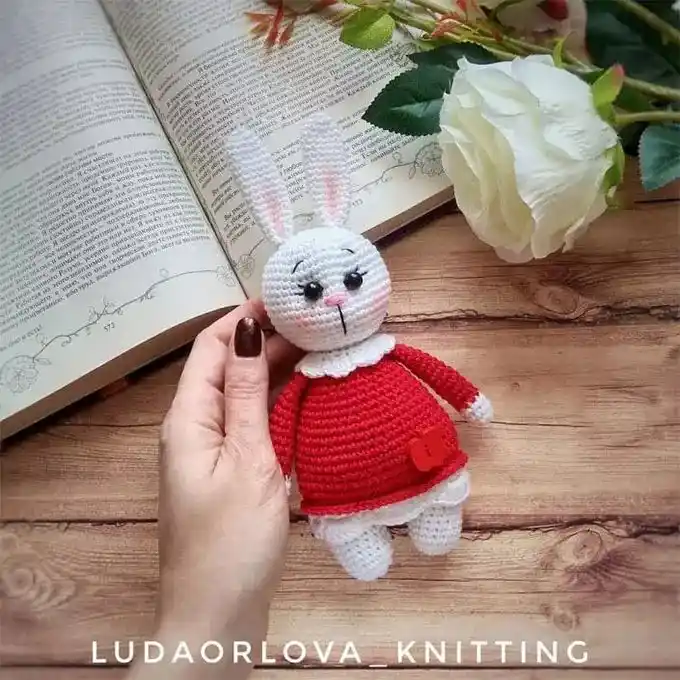
Also, check out the crochet scheme for the bunny by the same author.