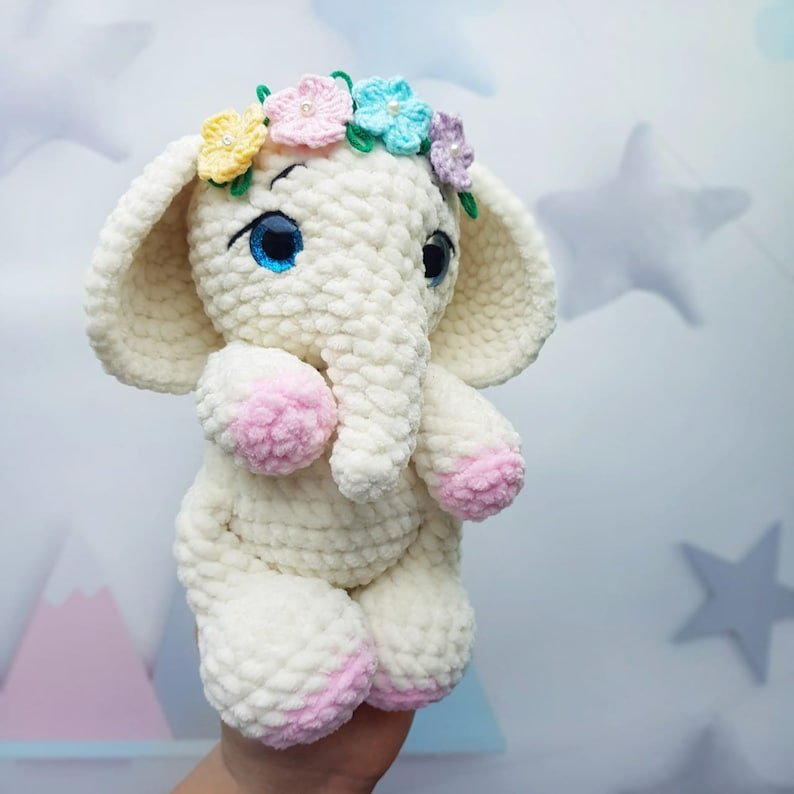
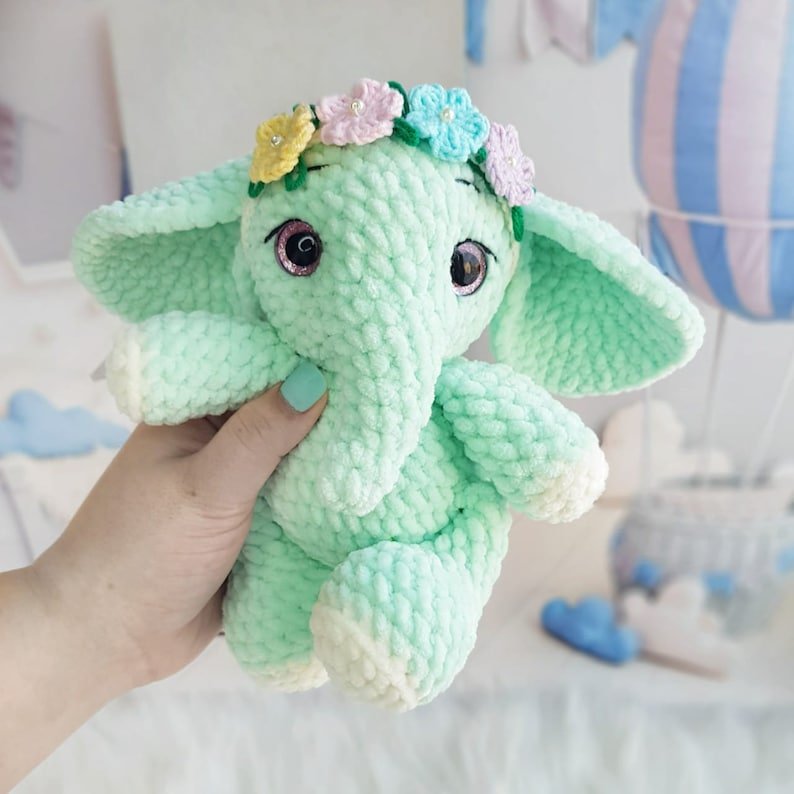
Hello amigurumi lovers and beautiful visitors, I wanted to share the free amigurumi patterns for you here. In my article I will share 1 pattern and how to make it for you. At the end of my article, I will share amigurumi patterns that can generate ideas for you.
Materials and tools
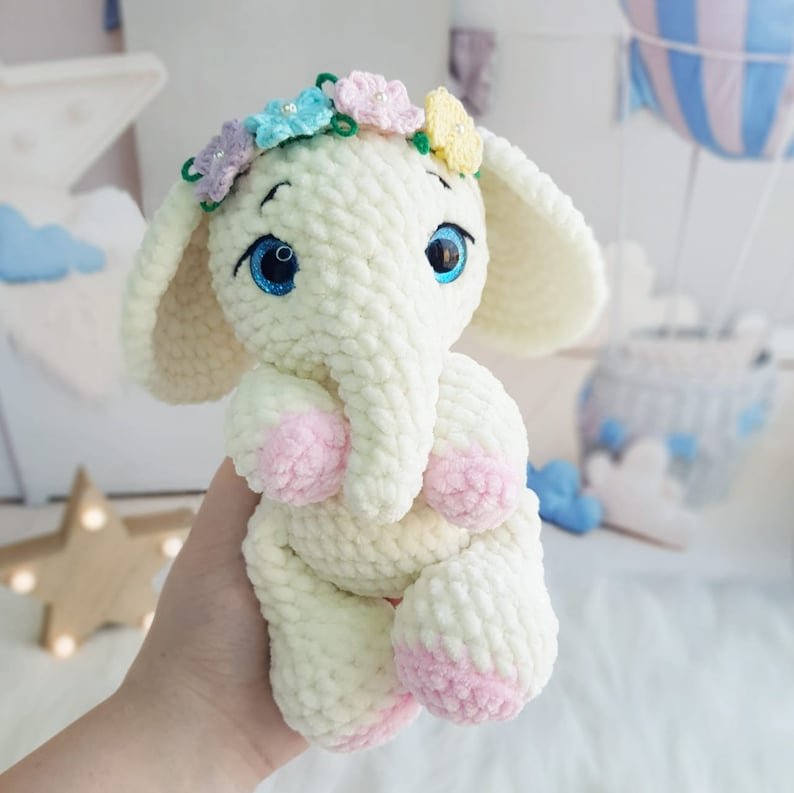
- Himalaya Dolphin Baby plush yarn (for elephant)
- YarnArt Jeans yarn (for flowers and muzzle decoration)
- Hook 3.5 mm
- Eyes for toys 16 mm
- Filler for toys
- Needle for sewing details
- Scissors
Conventions
- KA – amigurumi ring
- vp – air loop
- ss – connecting column
- sc – single crochet
- pr – increase
- ub – beauty
- (…) xn – repeat n times
Head
We knit with the main color:
- 6 sc in KA
- 6 sc (6)
- 5 sc, inc (7)
- 6 sc, inc (8)
- 7 sc, inc (9)
- 8 sc, inc (10)
- 7 9 sc, inc (11) 8.
- 10 sc, inc (12)
- 2 sc, 6 sl-st, 4 sc (12)
- (1 sc, inc) x 6 (18)
- (2 sc, inc) x 6 (24)
- (3 sc, inc) x 6 (30)
- (4 sc, inc) x 6 (36)
- 14-19. 36 sc (36) 6 rows
- Stuff the trunk with filler. We insert the eyes between 12 and 13 rows at a distance of 11 columns (if you count from the leg of the eye). The place where 6 sl-st was knitted in the 9th row is the elephant’s mouth.
- (4 sc, dec) x 6 (30)
- (3 sc, dec) x 6 (24)
- (2 sc, dec) x 6 (18)
- Stuff your head tightly, especially the area between the eyes and extra cheeks.
- (1 sc, dec) x 6 (12)
- Stuff your head with filler until the end.
- 6 dec (6)
- Knit ss, cut the thread, pull the hole with a needle, hide the tip of the thread.
Lower legs (2 parts)
We start knitting with an additional color.
- 6 sc in KA
- 6 inc (12)
- (1 sc, inc) x 6 (18)
- Change the color to the main one, 18 sc knit for the back half loop (18)
- 5-7. 18 sc (18)
- 3 sc, 6 dec, 3 sc (12) fill a little with filler, pushing the walls of the legs apart with your fingers
- 4 sc, 2 dec, 4 sc (10)
- 10-13. 10 sc (10)
- Knit 1 more sc, fill tightly 2/3 paws with filler. Fold the row in half and knit together 5 sc. Cut the thread, fasten.
Upper legs (2 parts)
We start knitting with an additional color.
- 6 sc in KA
- 6 inc (12)
- Change the color to the main one, 12 sc knit for the back half loop (12)
- 4-5. 12 sc (12)
- (4 sc, dec) x 2 (10)
- 10 sc (10)
- Stuff the part with filler
- (3 sc, dec) x 2 (8)
- 8 sc (8)
- Fold the row in half and knit together 4 sc. Cut the thread, fasten.
Torso
- 6 sc in KA
- 6 inc (12)
- (1 sc, inc) x 6 (18)
- (2 sc, inc) x 6 (24)
- (3 sc, inc) x 6 (30)
- (4 sc, inc) x 6 (36)
- Cast on 8 ch and knit 7 sl-st in a chain, starting from the 2nd loop from the hook (this is the tail). We continue knitting further as usual: 36 sc (36)
- 7 sc, 5 sc we knit together with the lower foot, 12 sc, 5 sc together with the other foot, 7 sc (36)
- (4 sc, dec) x 6 (30)
- 30 sc (30)
- (3 sc, dec) x 6 (24)
- (2 sc, dec) x 6 (18)
- 18 sc (18)
- 14. 4 sc, 4 sc we knit together with the upper foot, 5 sc, 4 sc together with the other foot, 1 sc (18)
- Knit ss, cut the thread, leaving a long end for sewing on the head.
Ears (2 parts)
- 6 sc in KA
- 6 inc (12)
- (1 sc, inc) x 6 (18)
- (inc, 2 sc) x 6 (24)
- (3 sc, inc) x 6 (30)
- 1 sc, inc, (4 sc, inc) x 5, 3 sc (36)
- (5 sc, inc) x 6 (42)
- Knit ss, cut the thread, leaving the end for sewing on the eyelet.
Assembling the toy
We make a muzzle tightening. See photo below. We insert the needle under the trunk, where we knitted 6 sl-st, and bring it out under the eye. Then we insert the needle at the top of the eye and bring it out at the top of the other eye. Now we insert the needle at the bottom of the eye and bring it out under the trunk next to the end of the thread. Tighten the ends well so that the eyes are drawn to each other, and the trunk looks down. Tie a few knots and hide the ends of the thread in the head.
We embroider eyebrows and eyelids.
Sew the head to the body. We use 2 knitting needles or 2 large needles to evenly fix the head, and sew it on. Stuff the neck area tightly with filler. We remove the knitting needles after the head is completely sewn on.
We sew the ears to the head at our discretion. You can fold them in the form of a “droplet” or sew them fully open, higher or lower, you decide. I sewed at the level of the 20th row of the head at a distance of 12-13 columns.
You can see knitting patterns for flowers for decoration at the link.
Feel free to tag me (@freeamigurumii) in your photos on Instagram or Facebook if you’d like!
All Finished.