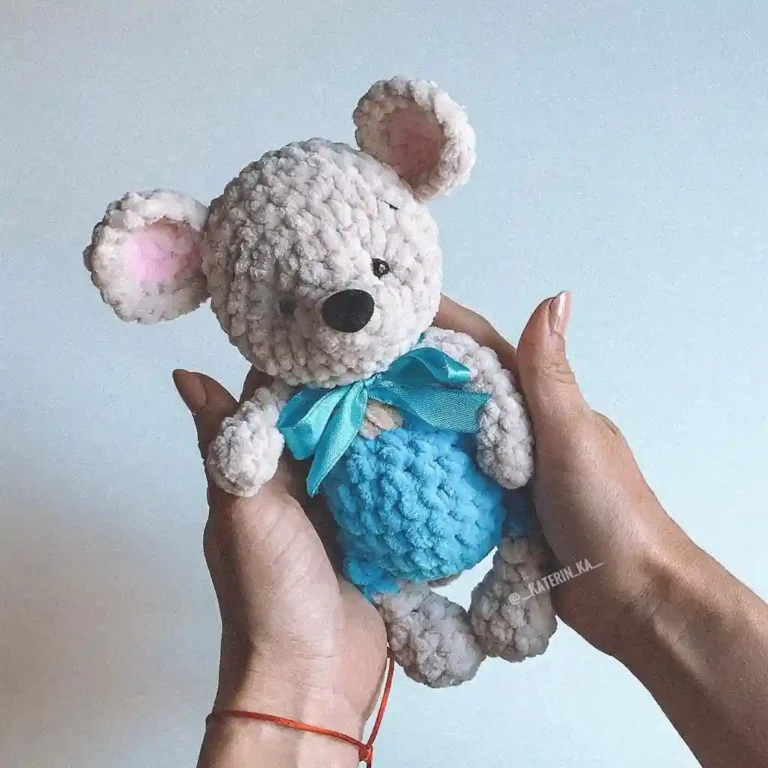
Hello amigurumi lovers and beautiful visitors, I wanted to share the free amigurumi patterns for you here. In my article I will share 1 pattern and how to make it for you. At the end of my article, I will share amigurumi patterns that can generate ideas for you.
MATERIALS
YARN COLOR
- (A) green : YarnArt Jeans 11 (50g, 160m)
- (B) brown : YarnArt Jeans 40 (50g, 160m)
- (C) purple : Alize Cotton Gold 649 (100g, 330m)
- (D) skin color : YarnArt Jeans 73 (50g, 160m)
OTHER MATERIALS
- Crochet hook size 2-2.5mm
- Knitting needles size 3.5-4mm
- 1 wooden button
- Brown and pink thread
- Tapestry needles, pins, stitch markers, scissors
ABBREVIATIONS – US TERMS
- Ch Chain
- Sc Single Crochet
- Inc Single Crochet Increase
- Dec Single Crochet Decrease
- Hdc Half Double Crochet
- Slst Slip Stitch
- Mr Magic Ring
- Dc Double Crochet
- Tr Treble Crochet
- (…) Work all stitches in the same stitch
- [ ]…x Repeat instructions in brackets…times
- Bobble Bobble Stitch
- BLO Back loop only
- FLO Front loop only
- Rnd Round
- Sts Stitches
INSTRUCTIONS
LEGS (yarn A, X2)
rnd sts
1. sc 6 into a magic loop (6)
2. [sc 1, inc] 3x (9)
3. [sc 2, inc] 3x (12)
4. [sc 3, inc] 3x (15)
Break the yarn, make the second leg in the same way, but don’t break the yarn this time. Connect 2 legs together: sc 15 (leg 1) + sc 15 (leg 2) = 30. Move to the Body part.
BODY (yarn A)
rnd sts
1. [sc 4, inc] 6x (36)
2.-7. sc 36 (6 rows) (36)
8. [sc 4, dec] 6x (30)
9. sc 30 (30)
10. [sc 3, dec] 6x (24)
11. sc 24 (24)
12. [sc 2, dec] 6x (18)
13.-16. sc 18 (4 rows) (18)
Break the yarn with a long rest. Stuff.
ARMS (yarn A, X2)
rnd sts
1. sc 6 into a magic loop (6)
2. [sc 1, inc] 3x (9)
3.-7. sc 9 (5 rows) (9)
8. dec 1, sc 7 (8)
9. dec 1, sc 6 (7)
10. dec 1, sc 5 (6)
Break the yarn with a long rest. Stuff slightly. Sew 2 edges together.
HEAD (yarn A)
rnd sts
1. sc 6 into a magic loop (6)
2. inc 6 (12)
3. [sc 1, inc] 6x (18)
4. [sc 2, inc] 6x (24)
5. [sc 3, inc] 6x (30)
6. [sc 4, inc] 6x (36)
7. [sc 5, inc] 6x (42)
8. [sc 6, inc] 6x (48)
9. [sc 7, inc] 6x (54)
10. sc 54 (54)
11. [sc 8, inc] 6x (60)
12.-19. sc 60 (8 rows) (60)
20. [sc 8, dec] 6x (54)
21. sc 54 (54)
22. [sc 7, dec] 6x (48)
23. [sc 6, dec] 6x (42)
24. [sc 5, dec] 6x (36)
25. [sc 4, dec] 6x (30)
26. [sc 3, dec] 6x (24)
27. [sc 2, dec] 6x (18)
Break the yarn with a long rest to sew later. Stuff.
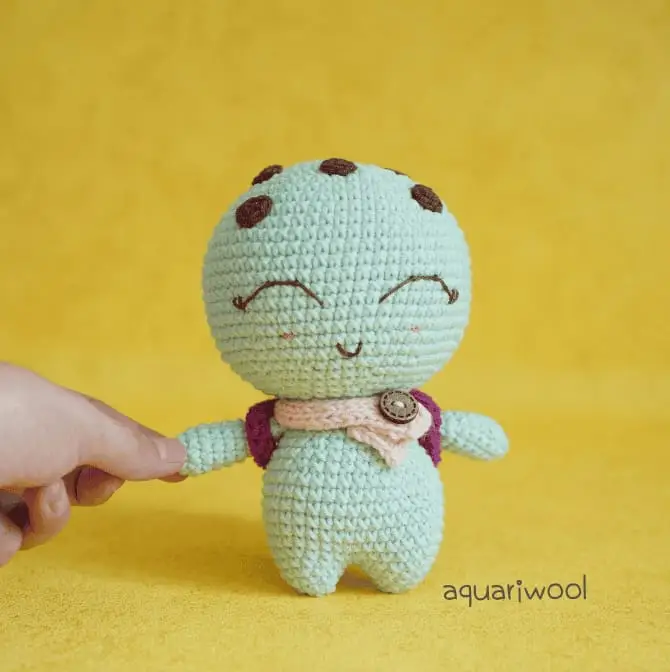
BACKPACK (yarn C)
Backpack bottom
rnd sts
1. sc 6 into a magic loop (6)
2. inc 6 (12)
3. [sc 1, inc] 6x (18)
4. [sc 2, inc] 6x (24)
5. [sc 3, inc] 6x (30)
6. [sc 4, inc] 6x (36)
Break the yarn with a long rest to sew.
Backpack body
rnd sts
1. sc 6 into a magic loop (6)
2. inc 6 (12)
3. [sc 1, inc] 6x (18)
4. [sc 2, inc] 6x (24)
5. [sc 3, inc] 6x (30)
6. [sc 4, inc] 6x (36)
7.-10. sc 36 (4 rows) (36)
Break the yarn with a long rest to sew. Slightly stuff. Use the tapestry needle to connect the backpack bottom and body into 1 piece.
Backpack straps (x2)
rnd sts
1. ch 20, start on the 2nd stitch from the hook (20)
2. hdc 19 (19)
Break the yarn with a long rest to sew. Use the tapestry needle to connect the straps onto the backpack.
SPOT (yarn B, X6)
rnd sts
1. sc 6 into a magic loop (6)
Use the tapestry needle to sew spots to the head.
SCARF (yarn D, using Knitting Needles)
rnd sts
1. Cast on 6 st (6)
2. K6 (6)
3. P6 (6)
Repeat Rnd 2 and 3 till you reach 13cm then cast off, break the yarn, hide the remaining yarn. Use the tapestry needle to attach the wooden button to the scarf. That’s done!
- Use brown thread to embroider the eyes, and the mouth.
- Use pink thread to embroider the cheeks.
- Use ivory white thread to embroider the backpack to make it look like a turtle shell.
Feel free to tag me (@freeamigurumii) in your photos on Instagram or Facebook if you’d like!
All Finished.